

 479 Beale St - Quincy, MA 02169
 Mon-Sun: 6:00am - 7:30pm


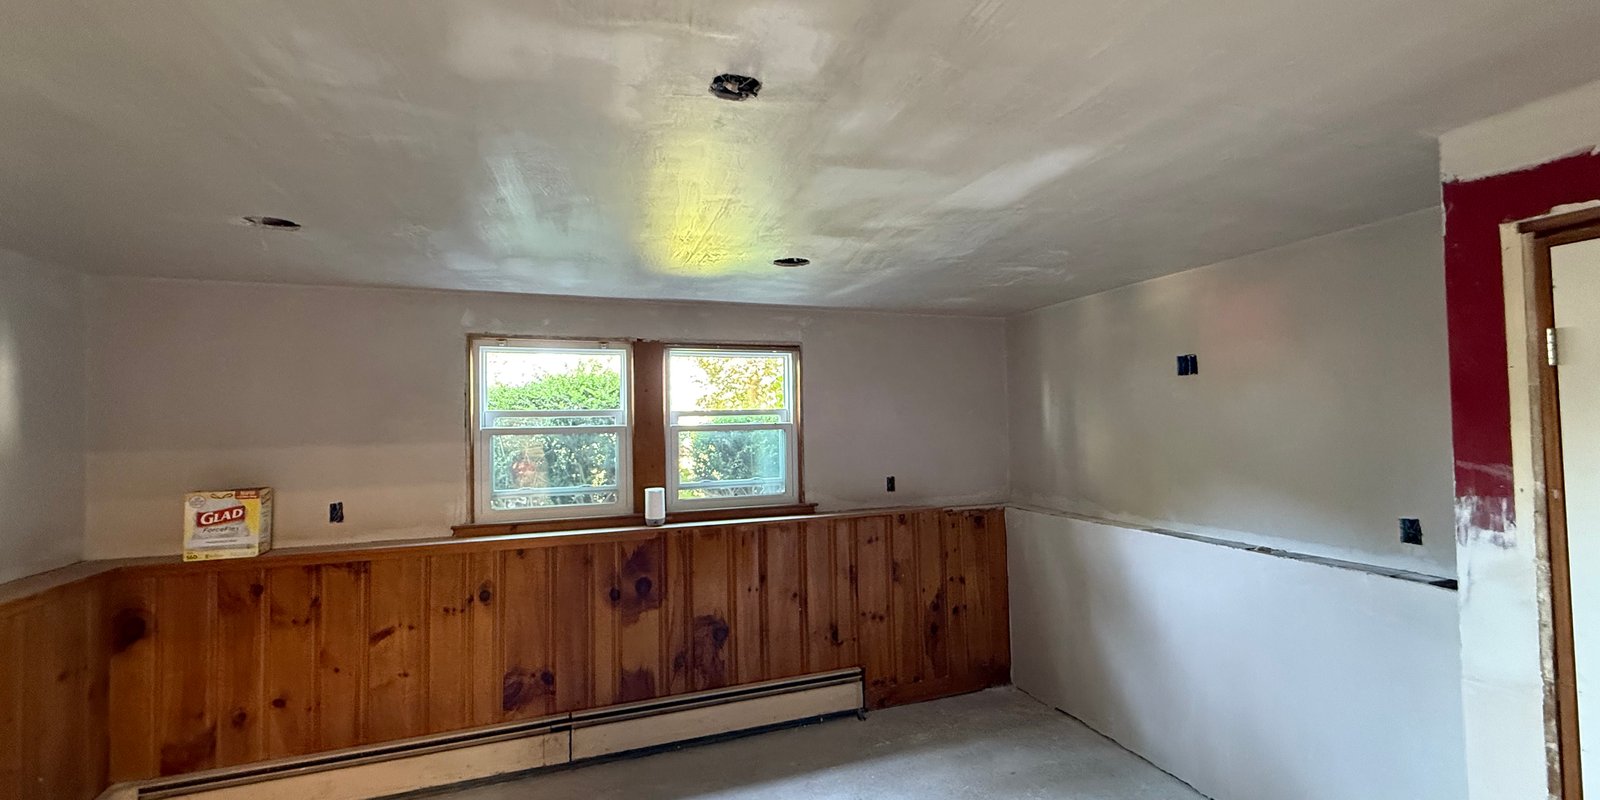

Water-damaged plaster can often be repaired, but only after the water source is stopped, the assembly is safely dried, and the remaining plaster and lath are checked for soundness. A brown stain does not automatically require ceiling replacement. Bulging, softness, widespread detachment, contaminated water, or concealed mold can make a larger removal necessary.
The mistake to avoid is treating the finish before treating the building. Primer may hide a stain, and patching plaster may close a hole, but neither solves a roof leak, failed flashing, plumbing problem, or condensation inside the assembly.
First: Determine Whether the Area Is Safe
Water and buildings create hazards beyond the visible plaster.
Before disturbing a wet wall or ceiling:
- stop the leak if it can be done safely;
- keep people away from sagging or bulging ceilings;
- do not touch wet electrical fixtures or energized materials;
- document damage for the insurer before demolition;
- determine whether the water came from a clean supply line, a roof, a drain, sewage, or flooding;
- use qualified remediation help when contamination or widespread mold is possible; and
- consider lead-safe requirements before scraping or removing painted plaster.
Following a flood or major water event, structural, electrical, and contamination risks take priority over finish repair. EPA guidance recommends drying the home and its contents as quickly as possible—ideally within 24 to 48 hours—to reduce mold risk. See the EPA’s flooded-home cleanup guidance.
Find and Correct the Water Source
The location of a stain does not always identify the source directly above it. Water can travel along framing, pipes, fasteners, lath, and the back of a ceiling before becoming visible.
Common sources include:
- roof covering or flashing failures;
- plumbing supply or drain leaks;
- failed shower or tub assemblies;
- exterior window and door openings;
- ice dams;
- HVAC condensation;
- bathroom or kitchen humidity;
- masonry moisture; and
- storm or floodwater.
The repair sequence should be:
- identify the source;
- correct it;
- remove standing water and unsafe material;
- dry and monitor the assembly;
- assess plaster, lath, framing, insulation, and adjacent finishes;
- repair or replace damaged material; and
- prime and paint only after the substrate is ready.
If the source remains uncertain, closing the ceiling can hide continuing damage and make the next failure more expensive.
How Quickly Does Wet Plaster Need Attention?
Prompt drying matters. The EPA says items dried within 24 to 48 hours generally will not become moldy, while ongoing moisture allows mold growth to develop. It also emphasizes that moisture control—not simply surface cleaning—is the key to preventing recurrence. Review the EPA’s mold and moisture guidance.
That time frame is a response goal, not a promise that every plaster assembly dried within two days is automatically safe. Drying rate changes with:
- the amount and duration of water exposure;
- plaster thickness and composition;
- wood or metal lath;
- insulation and vapor-retarding materials;
- paint and wallcovering layers;
- temperature, humidity, and airflow;
- whether the cavity is open; and
- whether water remains trapped above a ceiling.
Moisture meters, infrared imaging, inspection openings, and professional judgment can help define the affected area. A surface that feels dry may still conceal wet insulation or framing.
Can Water-Damaged Plaster Be Saved?
Often, yes. Traditional plaster is more resilient than its stained paint may suggest.
The National Park Service advises owners to evaluate the plaster that remains because it is often not as badly damaged as it first appears. Its historic-plaster guidance favors retaining and repairing sound material when possible. See Preservation Brief 21: Repairing Historic Flat Plaster.
Repair is more plausible when:
- the water exposure was limited;
- the source has been corrected;
- plaster is dry and hard;
- keys remain adequately engaged with wood lath;
- the surface is not bulging or extensively hollow;
- framing and lath remain serviceable;
- there is no unresolved mold or contamination; and
- damage is localized enough to blend a patch.
Replacement becomes more likely when:
- plaster is soft, powdery, crumbling, or deeply contaminated;
- large ceiling sections sag or detach;
- wood lath or framing has decayed;
- metal lath or fasteners have significantly corroded;
- insulation or concealed materials cannot be dried or cleaned in place;
- repeated leaks have damaged several layers;
- mold remediation requires access; or
- the repair would leave too little sound material to support a durable patch.
Read the Damage Pattern
Staining without movement
A dry stain with firm surrounding plaster may require limited surface preparation, an appropriate stain-blocking primer, and repainting. The cause still needs confirmation, and the surface must be fully dry.
Bubbling or peeling paint
Paint can lose adhesion after water exposure even when the plaster beneath remains sound. Loose coating needs removal under the correct safety controls, followed by drying, compatible patching, priming, and painting.
Hairline cracks
Cracks may appear as plaster and framing move during wetting and drying. Stable cracks can often be opened, reinforced where appropriate, filled, and blended. A recurring crack means movement or bond loss has not been resolved.
Hollow or loose plaster
A hollow sound can indicate separation from the lath or substrate, although sound alone does not define the full repair. Localized plaster may be resecured using an appropriate system; widespread detachment can require removal or a specialized preservation approach.
Sagging ceilings
A sag is a safety warning. Water adds weight, and detached plaster can fall without much notice. Keep the area clear and arrange an assessment rather than pushing the ceiling back into place from below.
A Professional Plaster-Repair Sequence
Every assembly differs, but a controlled repair commonly involves:
- Protection and containment. Floors, furnishings, openings, and adjacent rooms are protected for debris and dust.
- Defined removal. Unsound plaster is removed back to stable material instead of feathering a patch over weak edges.
- Substrate assessment. Lath, framing, fasteners, and remaining plaster are checked.
- Stabilization. Loose but salvageable plaster may require reattachment; damaged lath may require repair or suitable backing.
- Compatible base repair. The missing area is rebuilt to an appropriate depth with a system selected for the existing wall.
- Finish and blending. The patch is brought into the surrounding plane and finished to match the room as closely as practical.
- Curing and coating preparation. New work dries or cures according to the material requirements before primer and paint.
For a modern plaster-base or drywall assembly, damaged board may be cut back and replaced before the finish is restored. Patriot’s wall and ceiling repair service covers both plaster and drywall conditions.
Mold Changes the Scope
Do not skim coat over visible mold or close a damp cavity. EPA guidance says mold cleanup must be paired with correction of the water problem or growth is likely to return.
Small surface conditions and extensive concealed contamination are not the same project. A remediation professional may be appropriate when:
- flooding or sewage is involved;
- mold covers a large area;
- HVAC systems may have distributed contamination;
- occupants have health concerns;
- the cavity cannot be inspected safely; or
- wet materials remained enclosed for an extended period.
The plaster finish should be restored only after the remediation and drying scope is complete.
Lead Paint and Older Massachusetts Homes
Water damage often loosens old paint and requires scraping, cutting, or demolition. In pre-1978 housing, that disturbance may trigger lead-safe renovation requirements.
Massachusetts states that paid renovation, repair, or painting work disturbing more than six square feet of interior painted surface per room in applicable pre-1978 housing and child-occupied facilities must be performed under its lead-safe renovation rules. Homeowners should verify the exact requirements and the credentials required for their project. See the Commonwealth’s lead-safe renovation guidance.
Do not dry-sand or scrape unknown old coatings casually. Testing, containment, cleaning, and disposal requirements can change the repair plan.
Water-Damaged Plaster FAQ
Can I paint over a dry water stain?
Only after confirming that the leak is fixed, the assembly is dry, loose coatings are removed safely, and the plaster is sound. A compatible stain-blocking primer may be needed before finish paint.
Does every wet plaster ceiling need to be replaced?
No. Limited exposure may leave the plaster repairable. Sagging, softness, widespread detachment, contamination, or damaged concealed materials can justify larger removal.
How long should plaster dry before repair?
There is no reliable universal number. Conditions inside the assembly matter more than surface appearance. The affected materials should be demonstrably dry and the source corrected before closure and finishing.
Can skim coating fix water-damaged plaster?
Skim coating can refinish a stable repaired surface. It cannot correct wet material, loose plaster, mold, failed lath, or an active leak.
Who should be called first?
Call the trade responsible for stopping the source—such as a roofer, plumber, or building-envelope contractor—before finish repair. Major flooding, contamination, electrical hazards, structural concerns, or mold may require specialized professionals first.
Repair the Cause, Then Restore the Finish
Patriot Plastering repairs plaster and drywall walls and ceilings after the underlying leak or moisture problem has been corrected. We assess the visible finish, remove unsound material where needed, and explain whether a localized patch or broader restoration is appropriate.
Learn when skim coating and plastering may follow a sound repair, compare drywall installation options, or read about repair planning for Boston buildings and moisture considerations in our South Shore service guide.